How to Run NSFW AI Image Generation Locally (2026 Guide)
Running NSFW AI image generation on your own computer gives you full control — no content filters, no subscription fees, no usage limits, and complete privacy. Every image generates and stays on your machine without touching any external server.
The trade-off is technical setup. You need decent hardware, some comfort with software installation, and patience for the initial configuration. This guide walks through everything from checking your computer’s compatibility to generating your first uncensored image.
Why Run Locally?
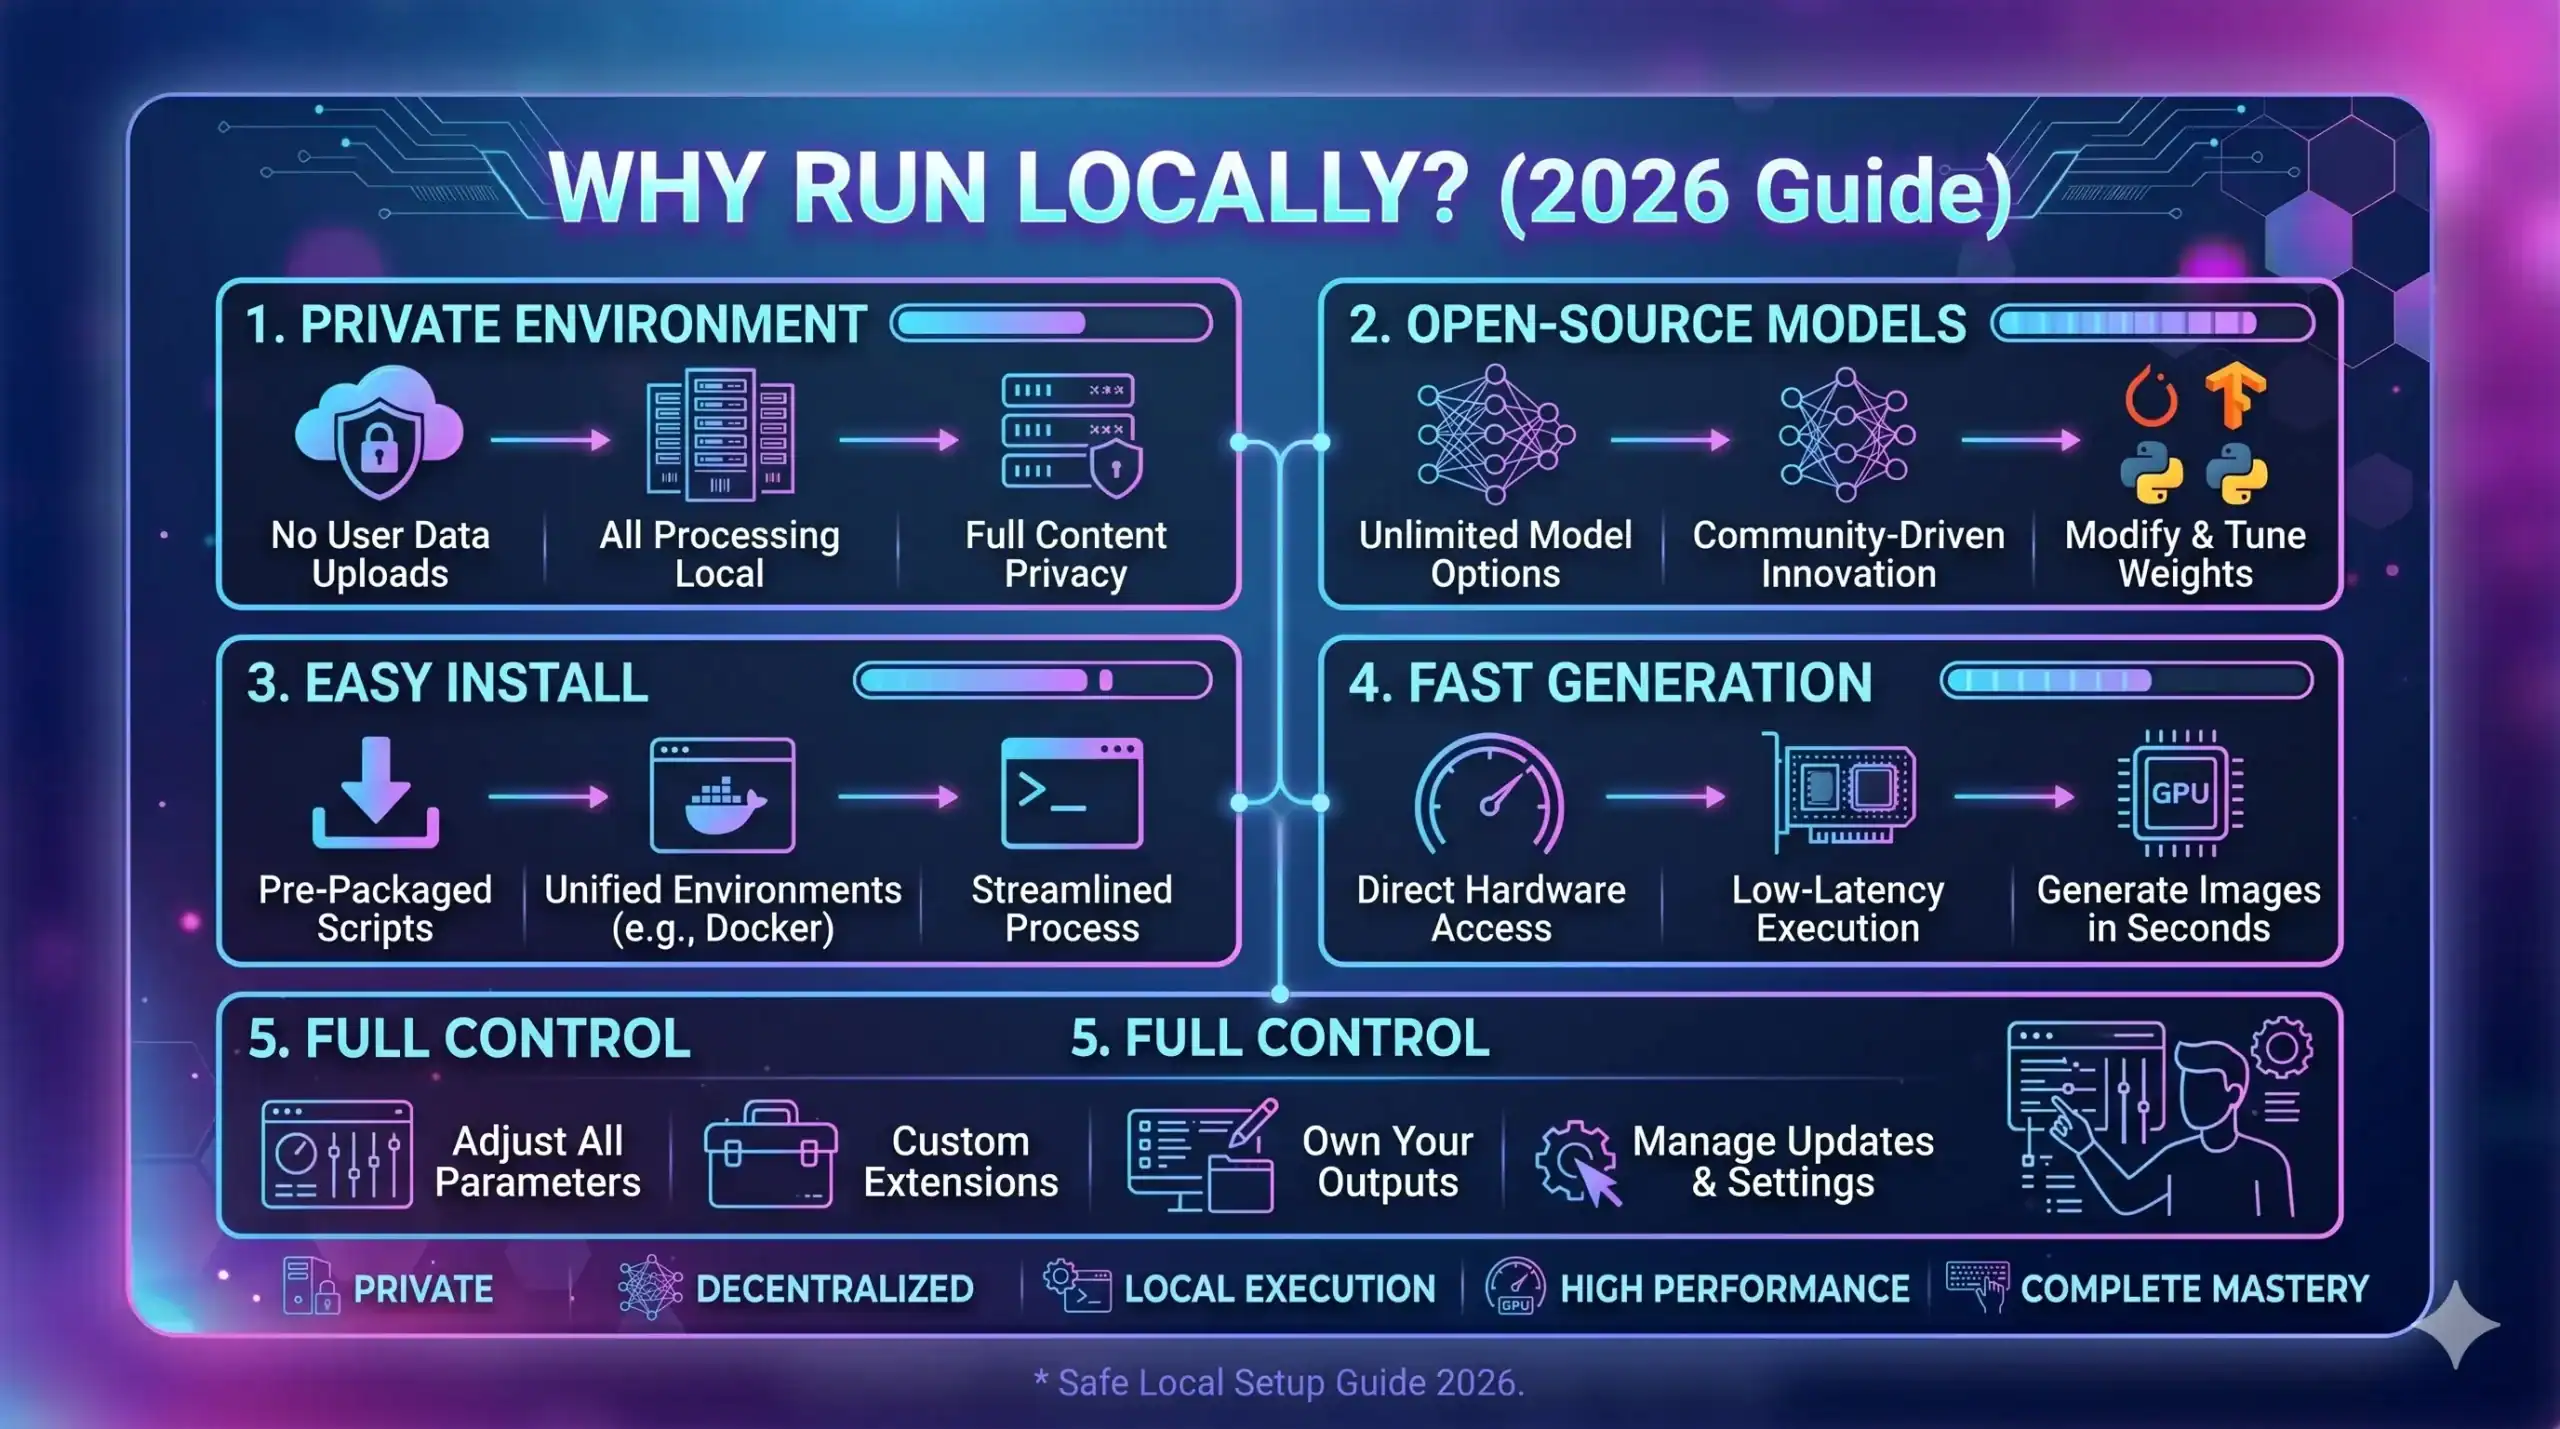
Before committing to the setup process, here’s what local generation offers compared to web platforms:
- No content restrictions: Your local setup has zero filters. Generate anything the model is capable of producing.
- No ongoing costs: After initial hardware investment, generation is free forever. No subscriptions, no token purchases.
- Complete privacy: Nothing leaves your computer. No server logs, no account history, no data collection.
- Unlimited generation: Generate as many images as you want, as fast as your hardware allows. No daily limits or cool-down periods.
- Full customization: Use any model, any settings, any workflow. Install custom models, LoRAs, embeddings, and extensions without restriction.
- Offline capability: Once set up, you can generate images without an internet connection.
Hardware Requirements
Minimum Specifications
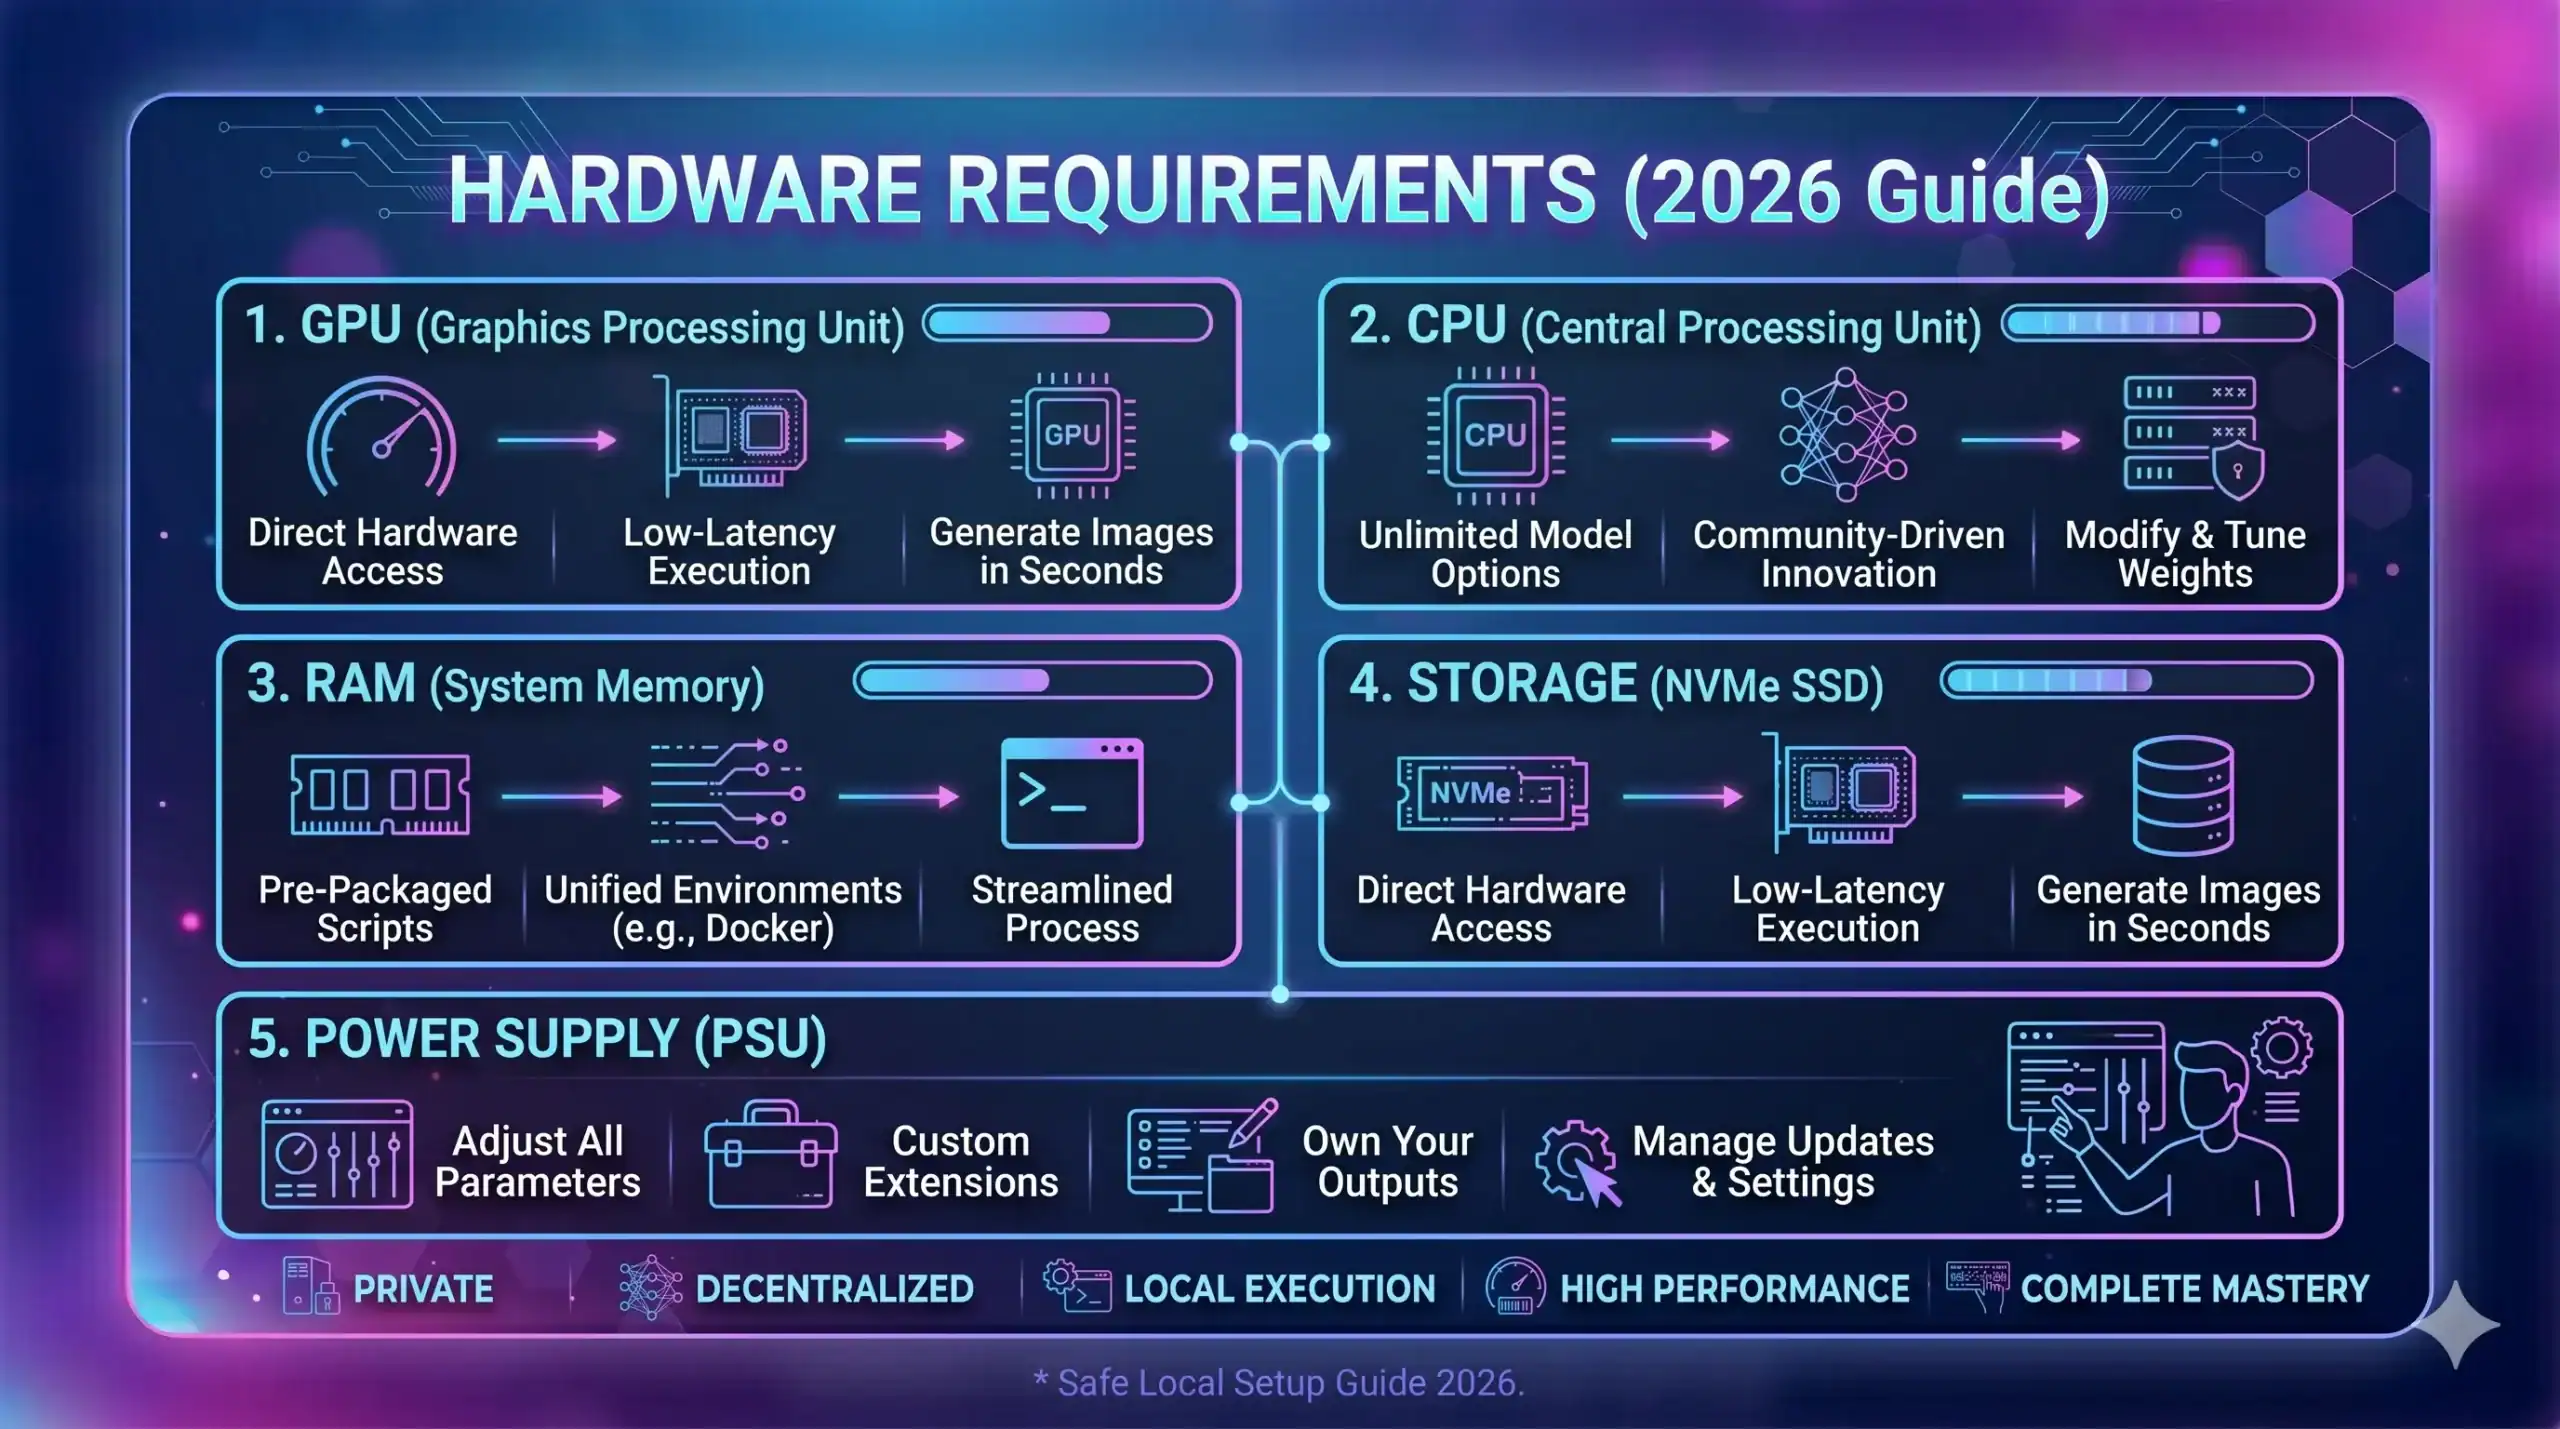
- GPU: NVIDIA GPU with 6GB VRAM (GTX 1660, RTX 2060, or equivalent). AMD GPUs work but with reduced performance and compatibility.
- RAM: 16GB system RAM.
- Storage: 30GB free space for software and one model. Plan for 100GB+ if you want multiple models and LoRAs.
- CPU: Any modern quad-core processor. The GPU does the heavy lifting.
- OS: Windows 10/11, Linux, or macOS (Apple Silicon Macs work with limitations).
Recommended Specifications
- GPU: NVIDIA RTX 3060 12GB, RTX 4060 Ti 16GB, or RTX 4070 12GB. The 12GB+ VRAM is the sweet spot for running SDXL and Flux models comfortably.
- RAM: 32GB system RAM.
- Storage: 500GB SSD (NVMe preferred for faster model loading).
- CPU: Modern 6-core processor or better.
Hardware Notes
VRAM is the bottleneck for image generation, not raw GPU speed. A slower GPU with more VRAM outperforms a faster GPU with less VRAM for this workload. If you’re buying hardware specifically for AI image generation, prioritize VRAM above everything else.
Apple Silicon Macs (M1, M2, M3, M4 series) can run Stable Diffusion through specialized backends. Performance is acceptable on M2 Pro and above, but significantly slower than a dedicated NVIDIA GPU. The M4 Max and Ultra chips close the gap considerably.
Step 1: Install Python
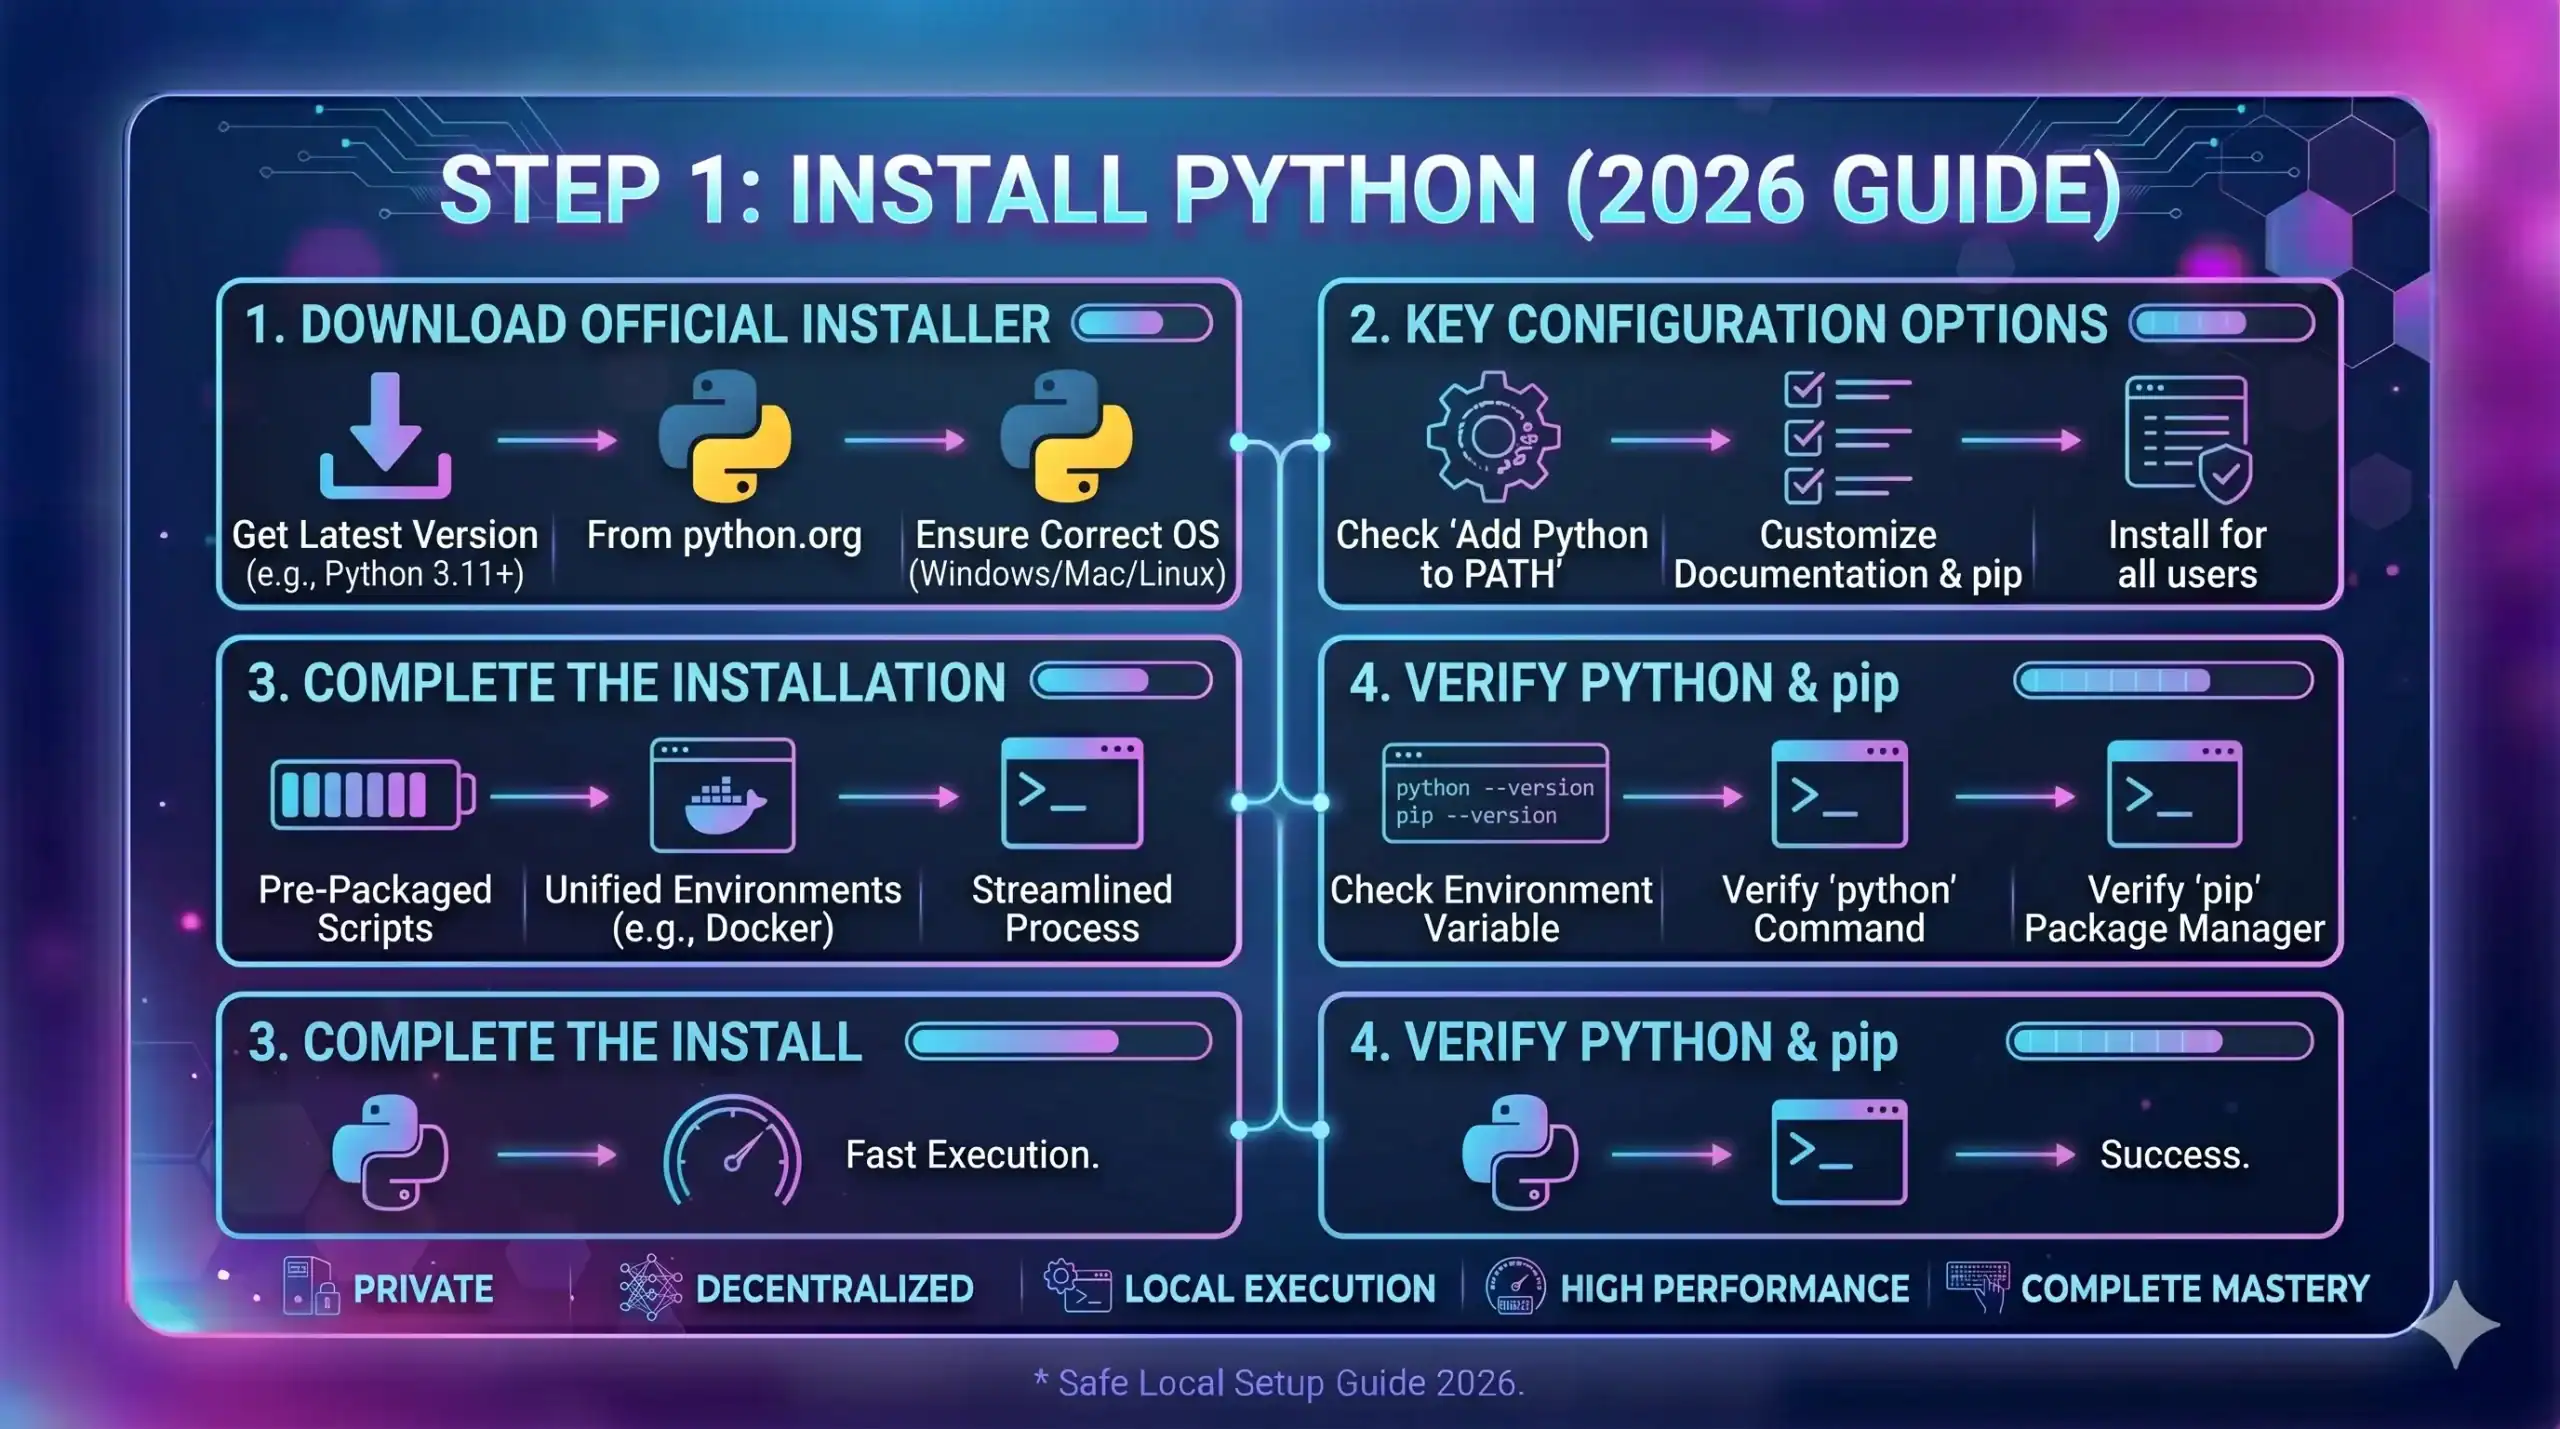
Most AI image generation tools require Python. Install it if you don’t have it already:
- Go to python.org/downloads and download Python 3.10.x (specifically 3.10 — newer versions can cause compatibility issues with some AI tools).
- During installation on Windows, check the box that says “Add Python to PATH” — this is mandatory.
- Complete the installation with default settings.
- Verify by opening a command prompt/terminal and typing:
python --version. You should see “Python 3.10.x”.
Step 2: Install Git
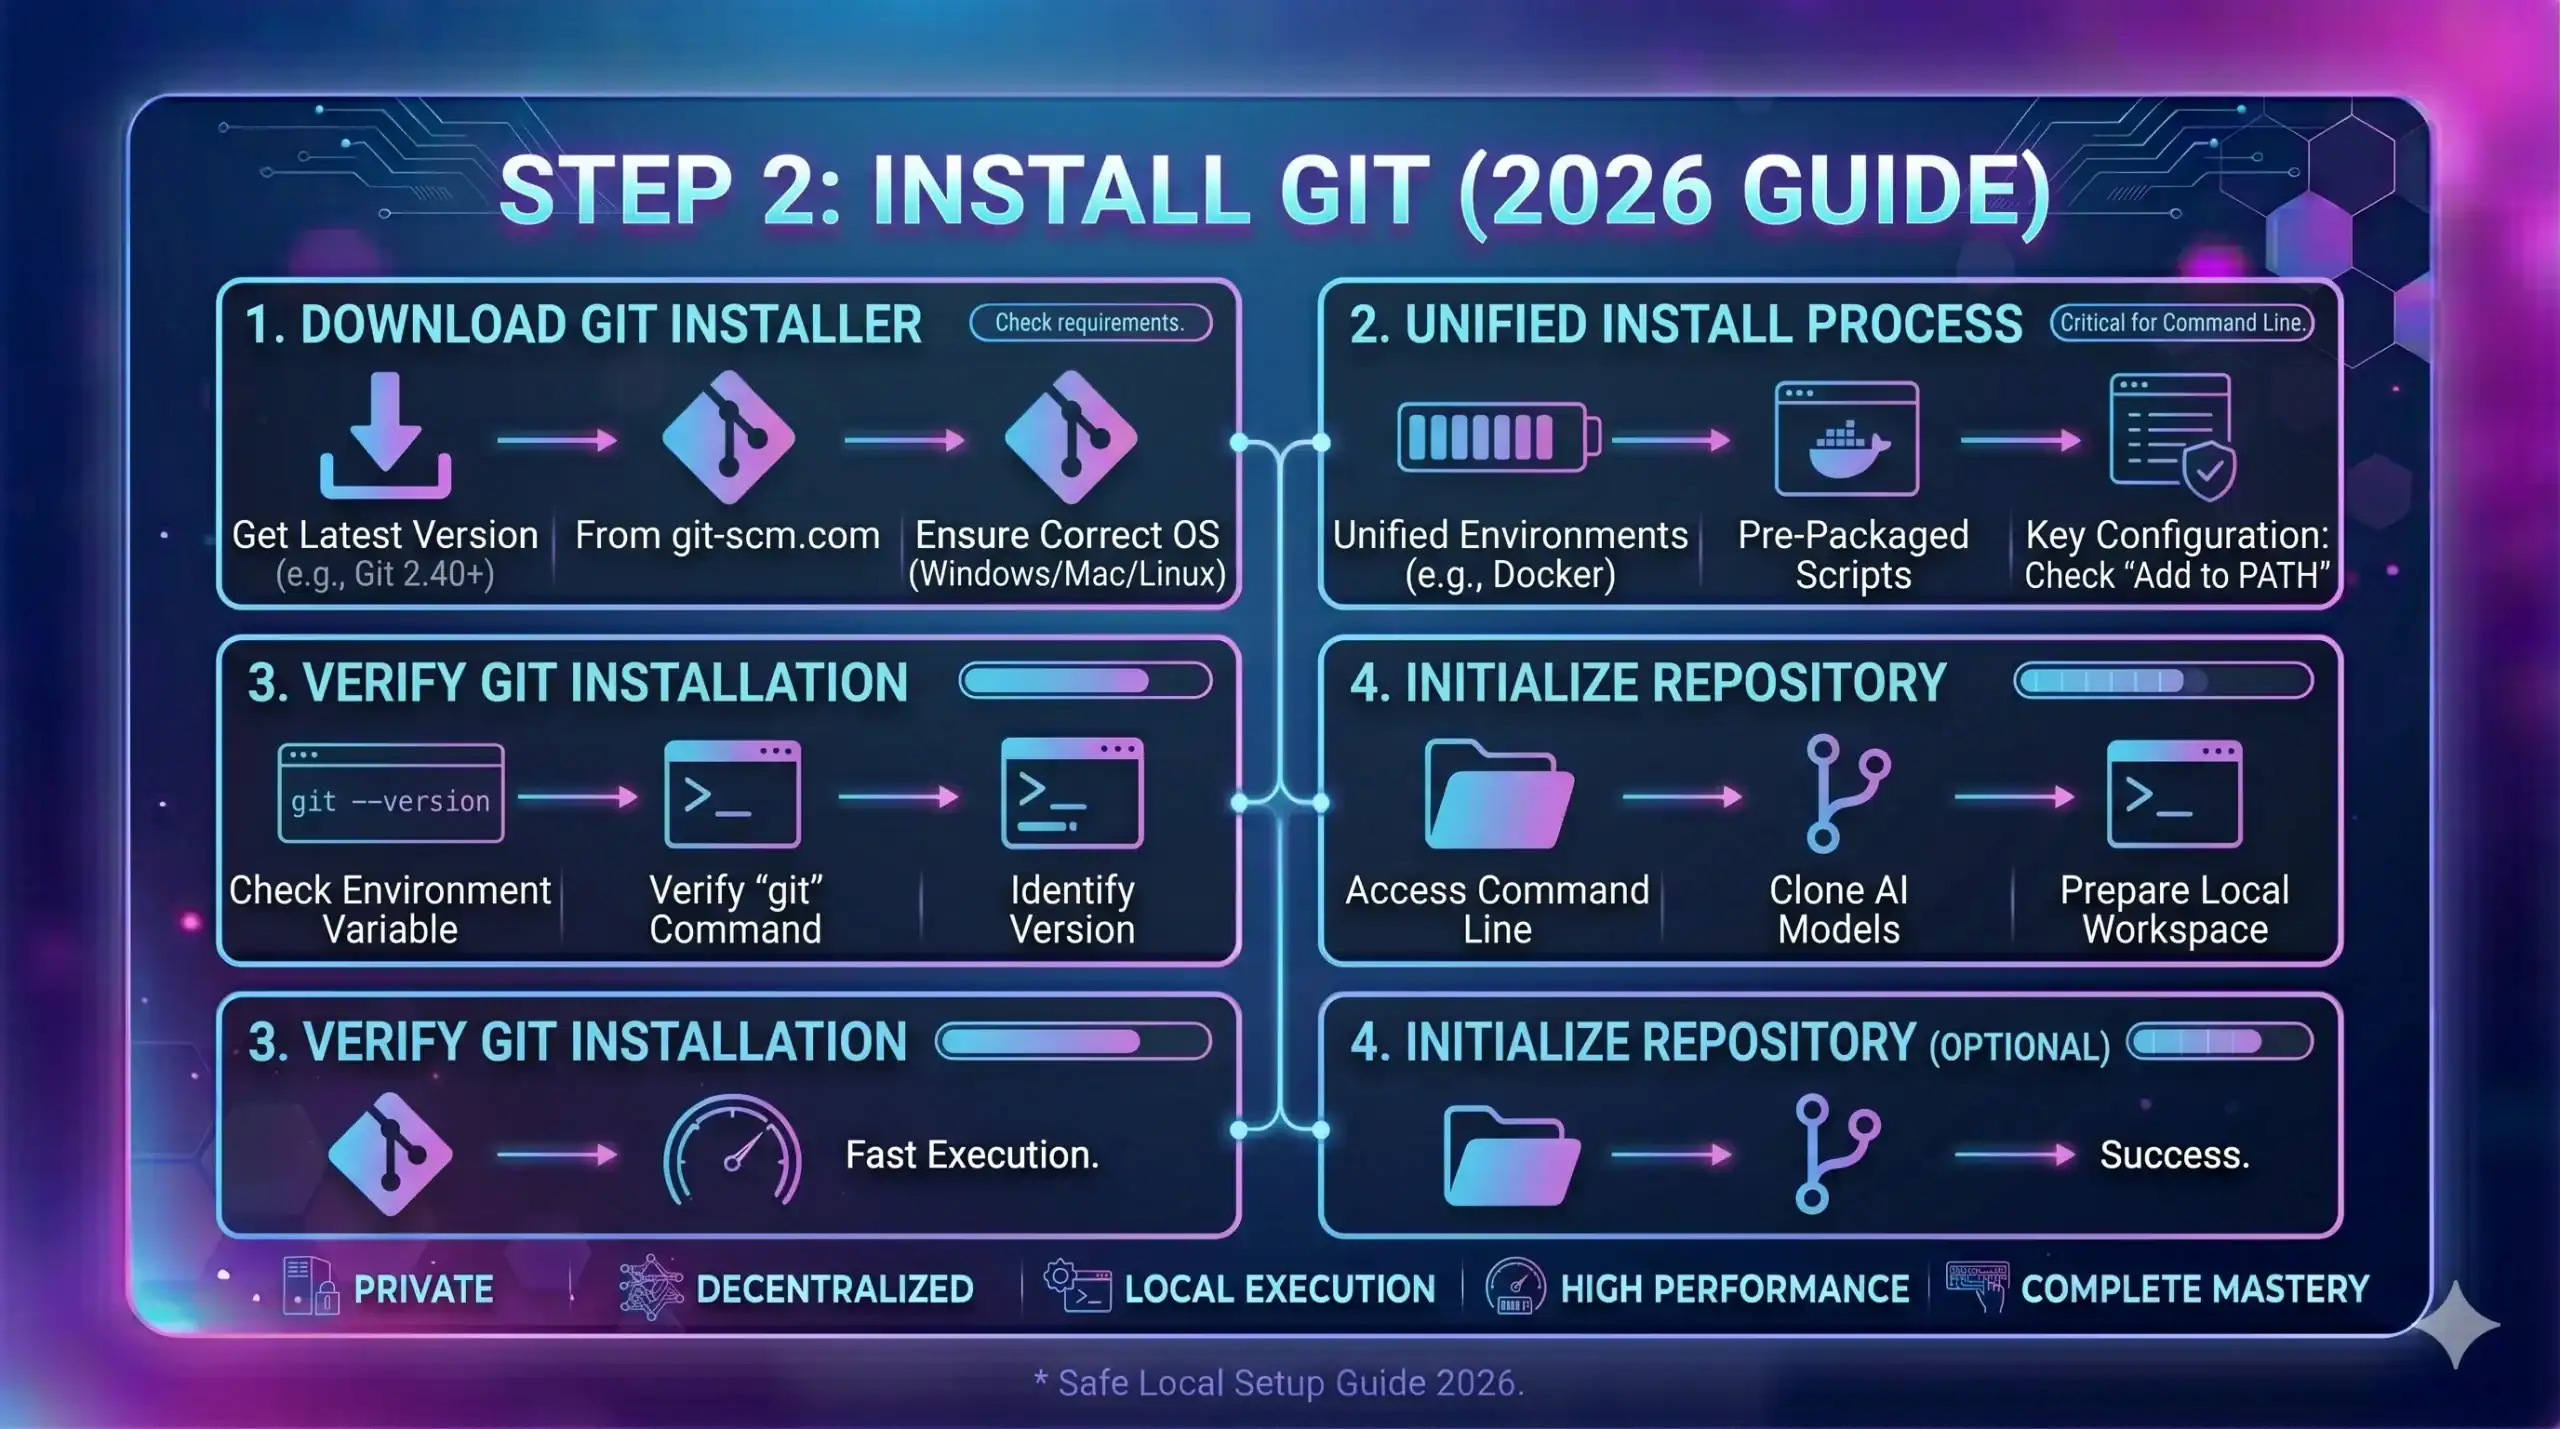
Git is needed to download the generation software and models:
- Download Git from git-scm.com.
- Install with default settings.
- Verify with:
git --versionin your terminal.
Step 3: Choose Your Interface
Two main interfaces dominate local AI image generation. Both are free and open source.
Option A: Stable Diffusion WebUI (Automatic1111 / Forge)
The original and most widely used interface. Automatic1111‘s WebUI has the largest extension ecosystem and the most community support. Forge is a performance-optimized fork that runs faster with lower VRAM usage.
Best for: Beginners who want extensive documentation and community resources.
Open-source AI image generation. Run locally for full freedom.
Most popular Stable Diffusion web UI.
Option B: ComfyUI
A node-based interface where you build generation workflows by connecting visual blocks. More powerful and flexible than WebUI but has a steeper learning curve.
Best for: Users who want maximum control and plan to build complex generation pipelines.
This guide uses Stable Diffusion WebUI Forge for the installation walkthrough because it offers the best balance of ease of use and performance.
Node-based Stable Diffusion UI. Maximum control.
Step 4: Install Stable Diffusion WebUI Forge
Windows Installation
- Open a command prompt and navigate to where you want to install (e.g.,
cd C:AI). - Clone the repository:
git clone https://github.com/lllyasviel/stable-diffusion-webui-forge - Enter the directory:
cd stable-diffusion-webui-forge - Run the launcher:
webui-user.bat - The first launch downloads required dependencies automatically. This takes 10-30 minutes depending on your internet speed.
- When you see “Running on local URL: http://127.0.0.1:7860”, open that address in your browser.
Linux Installation
- Open a terminal and navigate to your preferred directory.
- Clone:
git clone https://github.com/lllyasviel/stable-diffusion-webui-forge - Enter the directory:
cd stable-diffusion-webui-forge - Make the launcher executable:
chmod +x webui.sh - Run:
./webui.sh - Wait for dependency installation, then open the provided URL in your browser.
macOS (Apple Silicon) Installation
- Install Homebrew if you haven’t:
/bin/bash -c "$(curl -fsSL https://raw.githubusercontent.com/Homebrew/install/HEAD/install.sh)" - Install dependencies:
brew install cmake protobuf rust python@3.10 git wget - Clone and run: same git clone command, then
./webui.sh - The backend automatically uses MPS (Metal Performance Shaders) for Apple Silicon acceleration.
Step 5: Download NSFW-Capable Models
The interface is useless without a model. Models are the AI’s “brain” — different models produce different styles and handle different content types. Here’s where to get uncensored models:
Where to Download
CivitAI (civitai.com) is the primary source for AI image generation models. Create a free account, browse models, and download checkpoint files. Enable the NSFW content filter toggle to see models that support adult content.
Hugging Face (huggingface.co) hosts many models in a more technical, repository-style format. Search for model names you find recommended and download the checkpoint files.
Recommended Uncensored Models (2026)
For Realistic/Photographic Output
- RealVisXL V5.0: SDXL-based model producing highly photorealistic output. Handles NSFW content without restrictions. File size: ~6.5GB.
- epiCRealism XL: Specializes in photorealistic human figures with accurate anatomy. Strong NSFW capabilities. File size: ~6.5GB.
- CyberRealistic Pony: Based on Pony Diffusion architecture with excellent realistic generation. File size: ~6GB.
For Anime/Hentai Output
- AnimagineXL 3.1: Top-tier anime generation with strong tag understanding. Full NSFW support. File size: ~6.5GB.
- MeinaMix V12: Community favorite for anime and hentai content. Vibrant colors and clean art. File size: ~2GB (SD 1.5 based).
- Pony Diffusion V6 XL: Specifically trained for high-quality NSFW anime output with exceptional anatomy. File size: ~6.5GB.
For Flux-Based Generation
- Flux.1 [dev]: Black Forest Labs’ open model with strong generation capabilities. Requires more VRAM (12GB+) but produces state-of-the-art quality. File size: ~12GB.
Installing Models
- Download the model checkpoint file (.safetensors format preferred for security).
- Place it in:
stable-diffusion-webui-forge/models/Stable-diffusion/ - Restart the WebUI or click the refresh button next to the model dropdown.
- Select your model from the dropdown at the top of the interface.
Step 6: Install LoRAs for Enhanced Content
LoRAs (Low-Rank Adaptations) are small add-on files that teach the base model specific concepts — particular characters, body types, poses, art styles, or content types. They’re essential for NSFW generation because they fine-tune anatomy and content quality beyond what base models achieve.
Finding and Installing LoRAs
- Browse CivitAI’s LoRA section with NSFW filter enabled.
- Download LoRA files (.safetensors, usually 50-200MB each).
- Place them in:
stable-diffusion-webui-forge/models/Lora/ - In your prompt, activate a LoRA by adding:
<lora:filename:weight>where weight is typically 0.5-1.0.
Recommended LoRA Categories for NSFW
- Anatomy improvement LoRAs: Fix common body proportion issues.
- Pose LoRAs: Enable specific poses that base models struggle with.
- Detail enhancement LoRAs: Add skin texture, lighting quality, and overall detail.
- Style LoRAs: Achieve specific artistic styles or photography aesthetics.
Step 7: Configure Settings for NSFW Generation
With your model loaded, configure these settings in the WebUI:
Basic Settings
- Sampling method: DPM++ 2M Karras (reliable default) or Euler a (good for anime).
- Sampling steps: 25-35 for detailed output. Start at 28.
- CFG Scale: 7 for natural-looking output. Increase to 9-10 for stricter prompt following.
- Resolution: 512×768 for SD 1.5 models, 1024×1536 for SDXL models. Always use the model’s recommended base resolution.
- Seed: Leave at -1 for random. Set a specific number to reproduce or vary a particular result.
Important NSFW Settings
- Safety checker: Forge disables the NSFW safety checker by default. If you installed Automatic1111 instead, add
--disable-safe-unpickleto your launch arguments and ensure no safety checker extension is active. - CLIP skip: Set to 2 for anime models. Leave at 1 for realistic models.
- Upscaler: Enable “Hires fix” for generating images above the base resolution. Use a 2x upscaler like 4x-UltraSharp or SwinIR for the upscale pass.
Step 8: Generate Your First Image
- Select your model from the checkpoint dropdown.
- Enter a prompt in the positive prompt box. Example:
masterpiece, best quality, photorealistic, a beautiful woman, 25 years old, long dark hair, nude, standing in a sunlit bedroom, natural lighting, 85mm lens, detailed skin texture - Enter a negative prompt:
ugly, deformed, bad anatomy, extra limbs, blurry, low quality, watermark, text, cartoon - Set your resolution, steps, and CFG scale as described above.
- Click “Generate.”
- Wait for the image to appear. First generation is slowest as the model loads into VRAM.
If the image looks wrong, don’t change everything at once. Adjust one element at a time — modify the prompt, change the CFG scale, try a different seed — and observe how each change affects the output.
Troubleshooting Common Issues
Out of Memory (CUDA OOM)
This means your GPU doesn’t have enough VRAM for the current settings. Solutions:
- Reduce image resolution. Try the model’s minimum base resolution.
- Disable “Hires fix” during initial testing.
- In Forge, enable the “Always use NF4” option for SDXL models to reduce VRAM usage.
- Close other GPU-intensive applications (games, video players).
Black or Blank Images
Usually caused by a corrupted model file or incompatible settings. Re-download the model and verify the file size matches what’s listed on the download page. Also try reducing CFG scale — values above 15 can cause black outputs on some models.
Distorted Anatomy
Add more specific negative prompts: bad hands, extra fingers, missing fingers, bad anatomy, bad proportions, deformed, mutated. Consider using an anatomy correction LoRA. Also check that your resolution matches the model’s training resolution — wrong aspect ratios cause proportion issues.
Slow Generation Speed
Make sure you’re using GPU acceleration, not CPU fallback. Check that CUDA (NVIDIA) or ROCm (AMD) is properly installed. In Forge, verify the console shows your GPU name at startup. Generation should take seconds per image on a modern GPU, not minutes.
Optimizing for Speed
- Use Forge over Automatic1111: Forge includes optimizations that significantly reduce VRAM usage and increase speed.
- Enable xformers: Add
--xformersto your launch arguments for memory-efficient attention. - Generate at base resolution then upscale: Faster than generating at high resolution directly.
- Batch generate: Generating 4 images at once is faster than generating 4 images sequentially because the model stays loaded in VRAM.
- Use .safetensors models: They load faster than .ckpt format and are safer against code injection.
Next Steps After Setup
Once basic generation works, explore these features to expand your capabilities:
- img2img: Transform existing images using text prompts. Great for refining AI-generated outputs.
- Inpainting: Selectively regenerate specific parts of an image while keeping the rest. Fix hands, faces, or any problematic area.
- ControlNet: Use reference images for pose, depth, or composition guidance. Generate new images that follow the exact pose of a reference photo.
- Extensions: The WebUI supports hundreds of community extensions for everything from animation to batch processing to advanced prompting.
Local generation has a learning curve, but the payoff is permanent, unlimited, uncensored image generation with zero ongoing costs. Invest the time in proper setup, experiment with different models and settings, and you’ll have a generation pipeline that outperforms any web platform in both quality and freedom.