How to Upscale NSFW AI Images for Better Quality
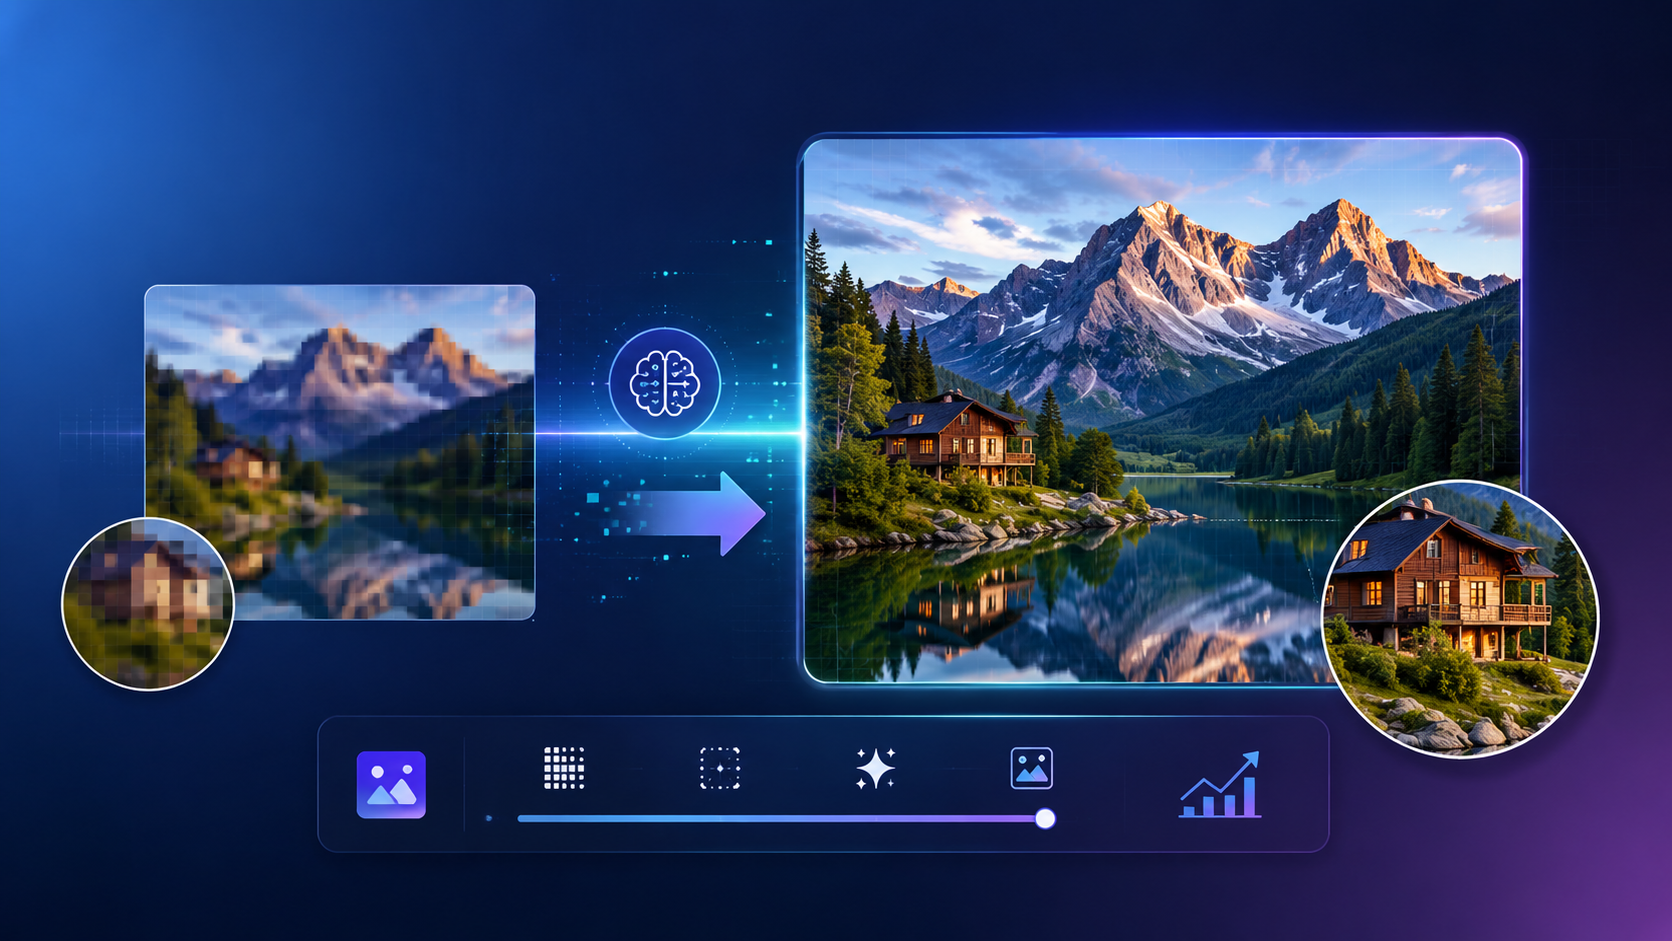
Most AI image generators output images at 512×768 or 1024×1024 pixels. These resolutions look fine as thumbnails or on phone screens, but they fall apart when viewed at full size, printed, or displayed on high-resolution monitors. Details blur, skin looks smooth and featureless, and the image screams “AI-generated” to anyone looking closely.
Upscaling solves this. AI upscalers don’t just stretch pixels—they intelligently add detail that wasn’t in the original. Skin gains pores and texture. Hair separates into individual strands. Eyes show iris detail and realistic reflections. A 512×768 image upscaled 4x becomes a 2048×3072 image that holds up at full-screen viewing on a 4K monitor.
This guide covers the best upscaling tools, optimal settings for NSFW content, and techniques to maximize quality without introducing artifacts.
How AI Upscaling Works
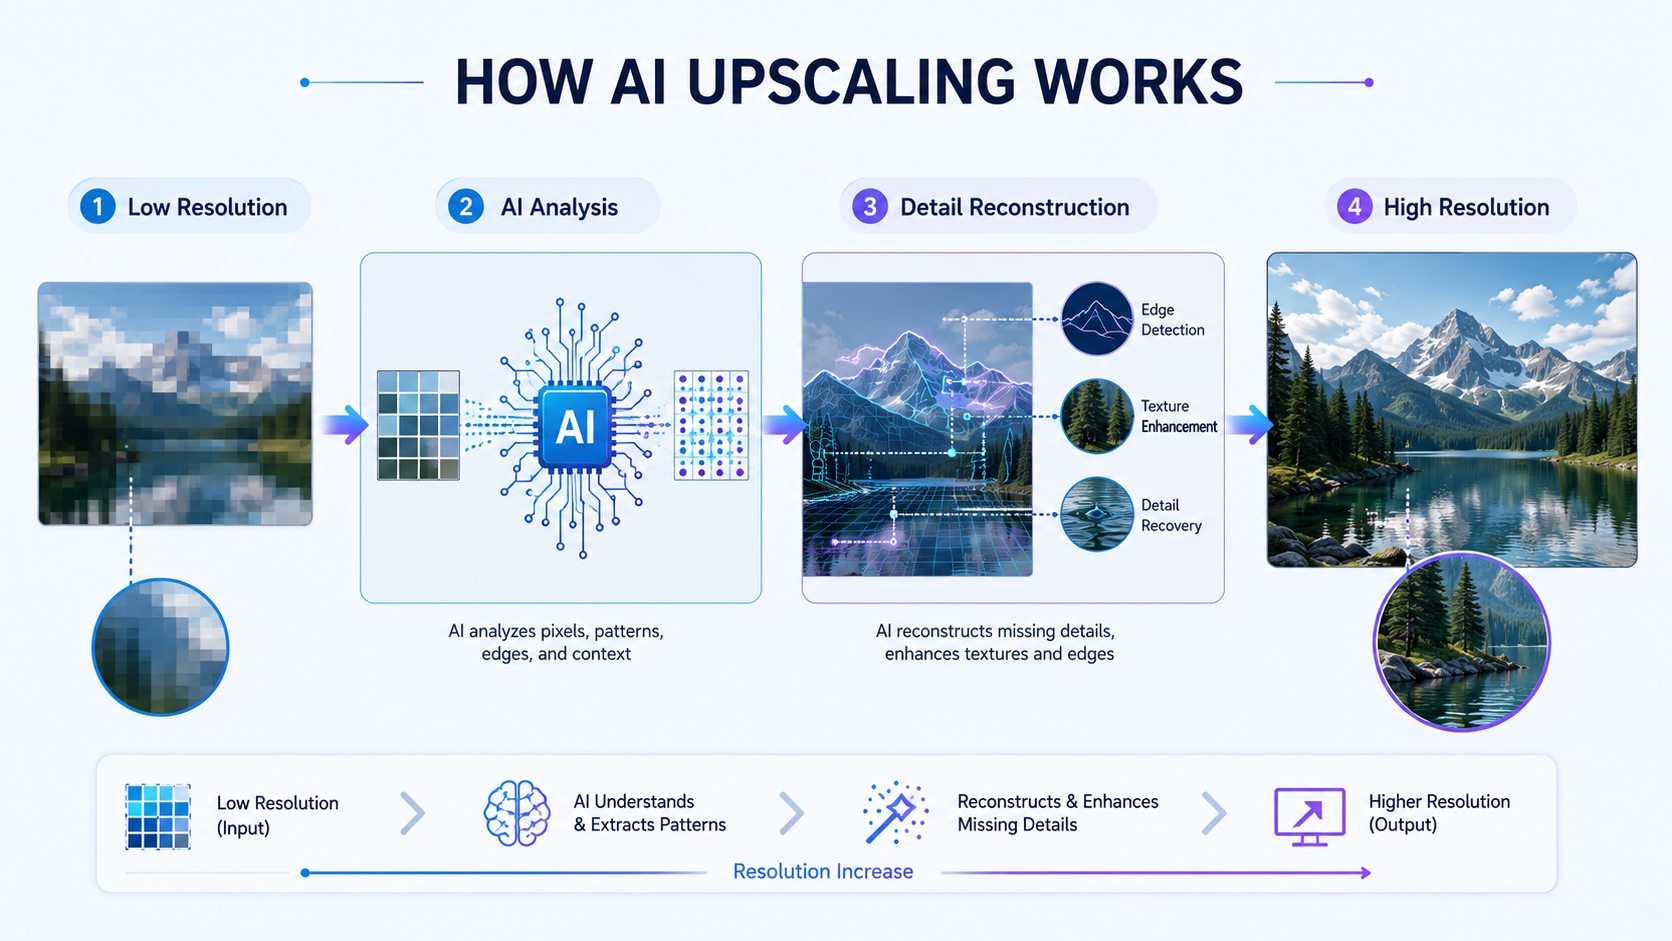
Traditional upscaling (bicubic, bilinear) stretches existing pixels, creating a larger but blurrier image. AI upscaling uses trained neural networks that understand what natural textures, edges, and details look like. The network analyzes the low-resolution input, predicts what high-resolution detail should exist, and generates that detail.
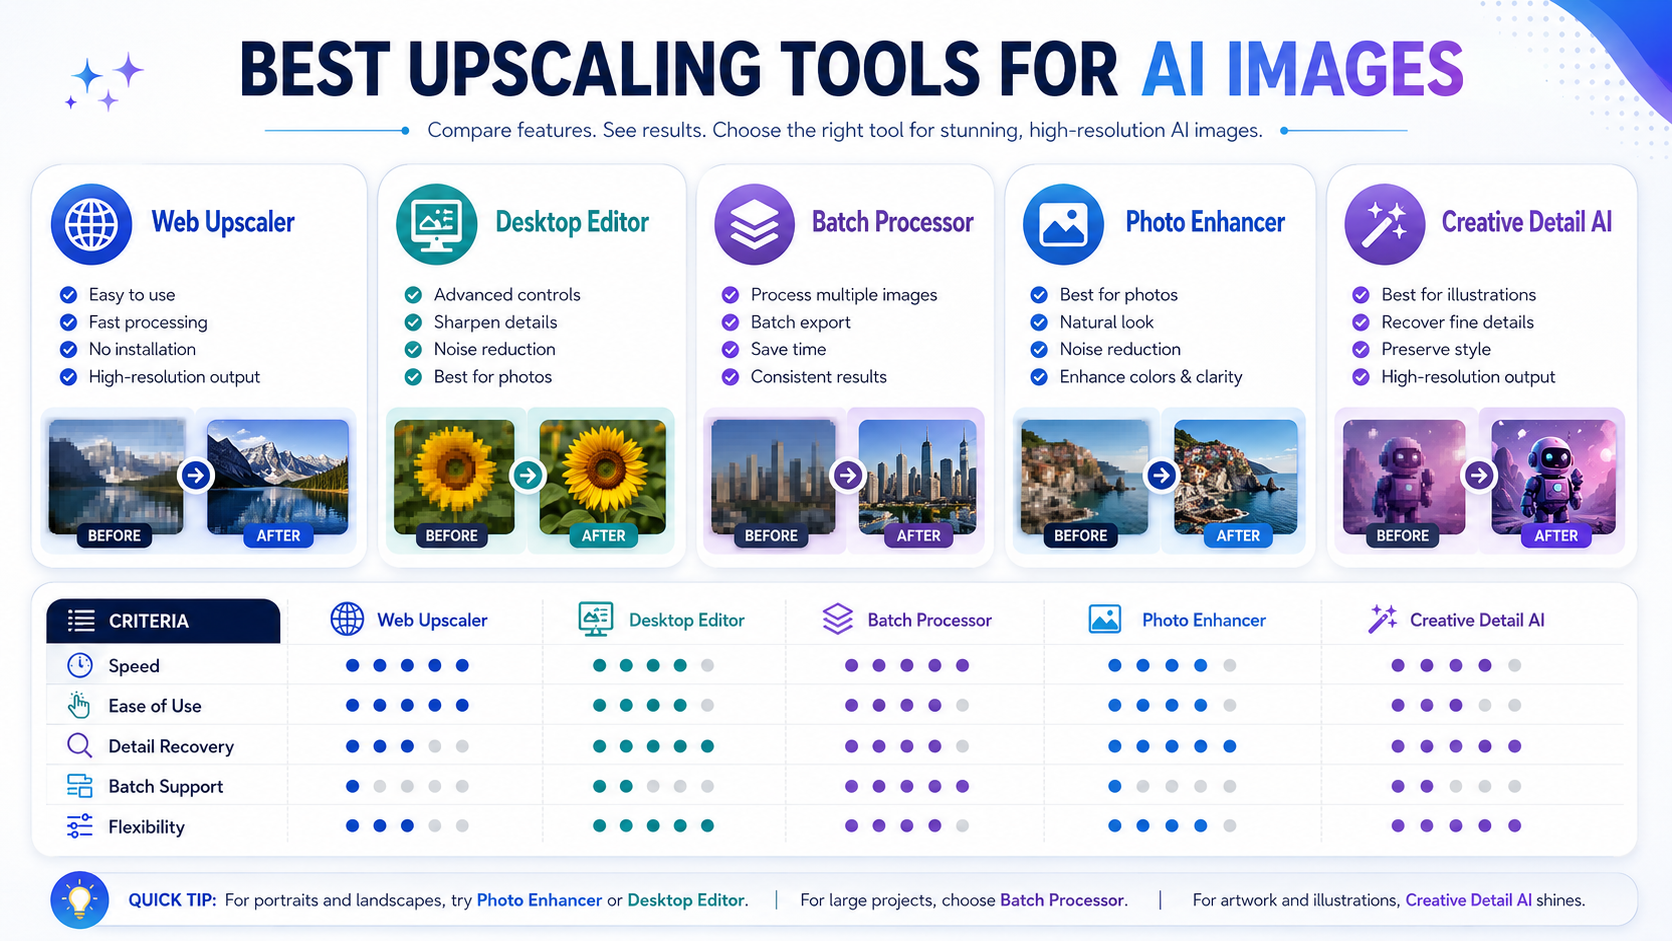
Different upscaler models are trained on different types of content. A model trained on photographs produces realistic skin textures and natural detail. A model trained on anime produces clean lines and vibrant colors. Using the right upscaler for your content type makes a visible difference in output quality.
Upscaling factors:
- 2x: Doubles each dimension. 512×768 becomes 1024×1536. Good for moderate quality improvement with fast processing.
- 4x: Quadruples each dimension. 512×768 becomes 2048×3072. The sweet spot for most use cases—significant quality improvement without excessive file sizes.
- 8x: Eight times each dimension. Produces massive images but can introduce artifacts. Usually 4x followed by a second 2x pass produces better results than a single 8x pass.
Best Upscaling Tools for NSFW AI Images
Real-ESRGAN
The most widely used AI upscaler. Real-ESRGAN produces sharp, detailed upscales with strong performance on both photorealistic and illustrated content. Multiple model variants are available:
- RealESRGAN_x4plus: General purpose 4x upscaler. Good results on most content types.
- RealESRGAN_x4plus_anime_6B: Optimized for anime and illustrated content. Produces cleaner lines and smoother color gradients than the general model on anime-style images.
- RealESRNet_x4plus: Variant focused on natural detail preservation. Less sharpening than the standard model, producing softer but more natural-looking results.
Available as: standalone executable (no installation needed), Python package, built-in option in Stable Diffusion interfaces.
Topaz Gigapixel AI
Commercial desktop application with a polished interface and strong upscaling quality. Topaz offers multiple AI models selectable per-image, batch processing, and fine-tuned controls for sharpness, noise reduction, and detail recovery. The face recovery feature is particularly useful for NSFW content—it detects faces in the image and applies specialized processing to maintain facial detail and attractiveness during upscaling.
Pricing: one-time purchase (approximately $100). Free trial available with watermarked outputs.
4x-UltraSharp (Stable Diffusion)
A community-trained upscaler model popular in the Stable Diffusion ecosystem. 4x-UltraSharp produces extremely detailed upscales with enhanced sharpness. It performs exceptionally on photorealistic NSFW content, adding convincing skin detail, hair texture, and fabric patterns. Some users find it too aggressive on sharpening—combine with slight post-processing blur if edges look too harsh.
Open-source AI image generation. Run locally for full freedom.
4x-NMKD-Siax (Stable Diffusion)
Another community-favorite upscaler that balances detail enhancement with natural appearance. Less aggressive than UltraSharp, producing results that look more naturally detailed rather than artificially sharpened. Good choice for images where you want increased resolution without changing the overall feel of the image.
Stable Diffusion Built-In Upscaling (Hires Fix)
Stable Diffusion includes a “Hires Fix” option that generates at low resolution then upscales using a second diffusion pass. This produces the highest quality upscaling because the AI actually generates new detail using the full diffusion model rather than an upscaling-specific model. However, it significantly increases generation time and VRAM usage.
ChaiNNer
Free, open-source node-based image processing tool. ChaiNNer lets you build upscaling pipelines using any ESRGAN model file. Chain together multiple upscaling models, add face enhancement, apply color correction, and batch process entire folders. The visual node interface makes complex workflows accessible without coding.
Step-by-Step: Upscaling NSFW AI Images
Method 1: Using Stable Diffusion’s Built-In Upscaler
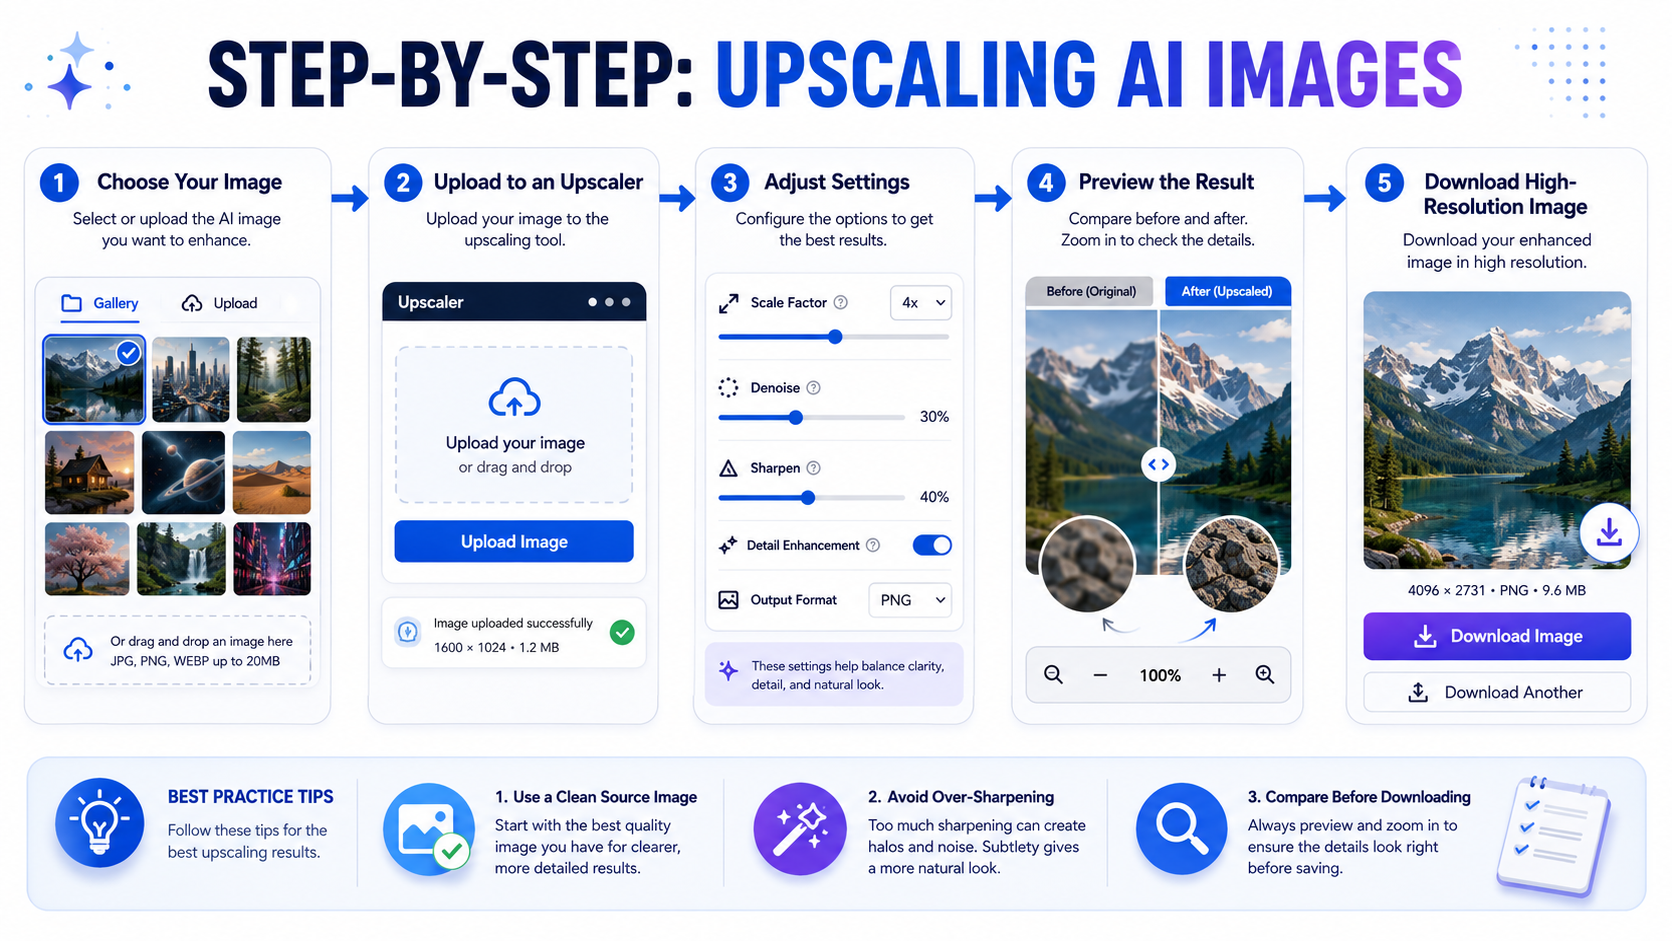
- Open Automatic1111 or your preferred Stable Diffusion interface.
- Navigate to the “Extras” tab.
- Upload the image you want to upscale.
- Set “Resize” to your desired scale (2x or 4x).
- Select your upscaler model. For photorealistic NSFW: choose 4x-UltraSharp or RealESRGAN_x4plus. For anime NSFW: choose RealESRGAN_x4plus_anime_6B.
- Optional: Enable a secondary upscaler at a lower blend ratio (e.g., ESRGAN_4x at 0.3 blend) to mix characteristics of two upscalers.
- Enable GFPGAN or CodeFormer face restoration if faces are present. Set strength to 0.5–0.7 for natural-looking face enhancement.
- Click “Generate” and wait for processing.
Method 2: Using Hires Fix During Generation
- In the txt2img tab, enable “Hires. fix” checkbox.
- Set your base resolution (e.g., 512×768).
- Choose upscale method: “Latent” for AI-generated detail, or “R-ESRGAN 4x+” for upscaler-based detail.
- Set “Hires steps” to 15–25 (additional diffusion steps for the upscaled version).
- Set “Denoising strength” between 0.3 and 0.5. Lower preserves the original composition; higher allows the AI to add more new detail.
- Set the upscale factor (2x recommended for Hires Fix; 4x requires significant VRAM).
- Generate normally. The AI produces the base image, then upscales and refines it in a second pass.
Hires Fix at 2x with Latent upscaling and 0.4 denoising produces arguably the best quality available—the AI uses the full model to generate genuine high-resolution detail rather than interpolating from a low-resolution source.
Method 3: Using Real-ESRGAN Standalone
- Download the Real-ESRGAN portable executable from the GitHub releases page.
- Place your images in a folder.
- Open a terminal/command prompt.
- Run:
realesrgan-ncnn-vulkan -i input_folder -o output_folder -n realesrgan-x4plus - For anime content, use:
-n realesrgan-x4plus-anime - Processed images appear in the output folder.
This method works without any Python installation or GPU drivers—the portable version uses Vulkan for GPU acceleration and runs on NVIDIA, AMD, and Intel GPUs.
Optimal Settings for Different Content Types
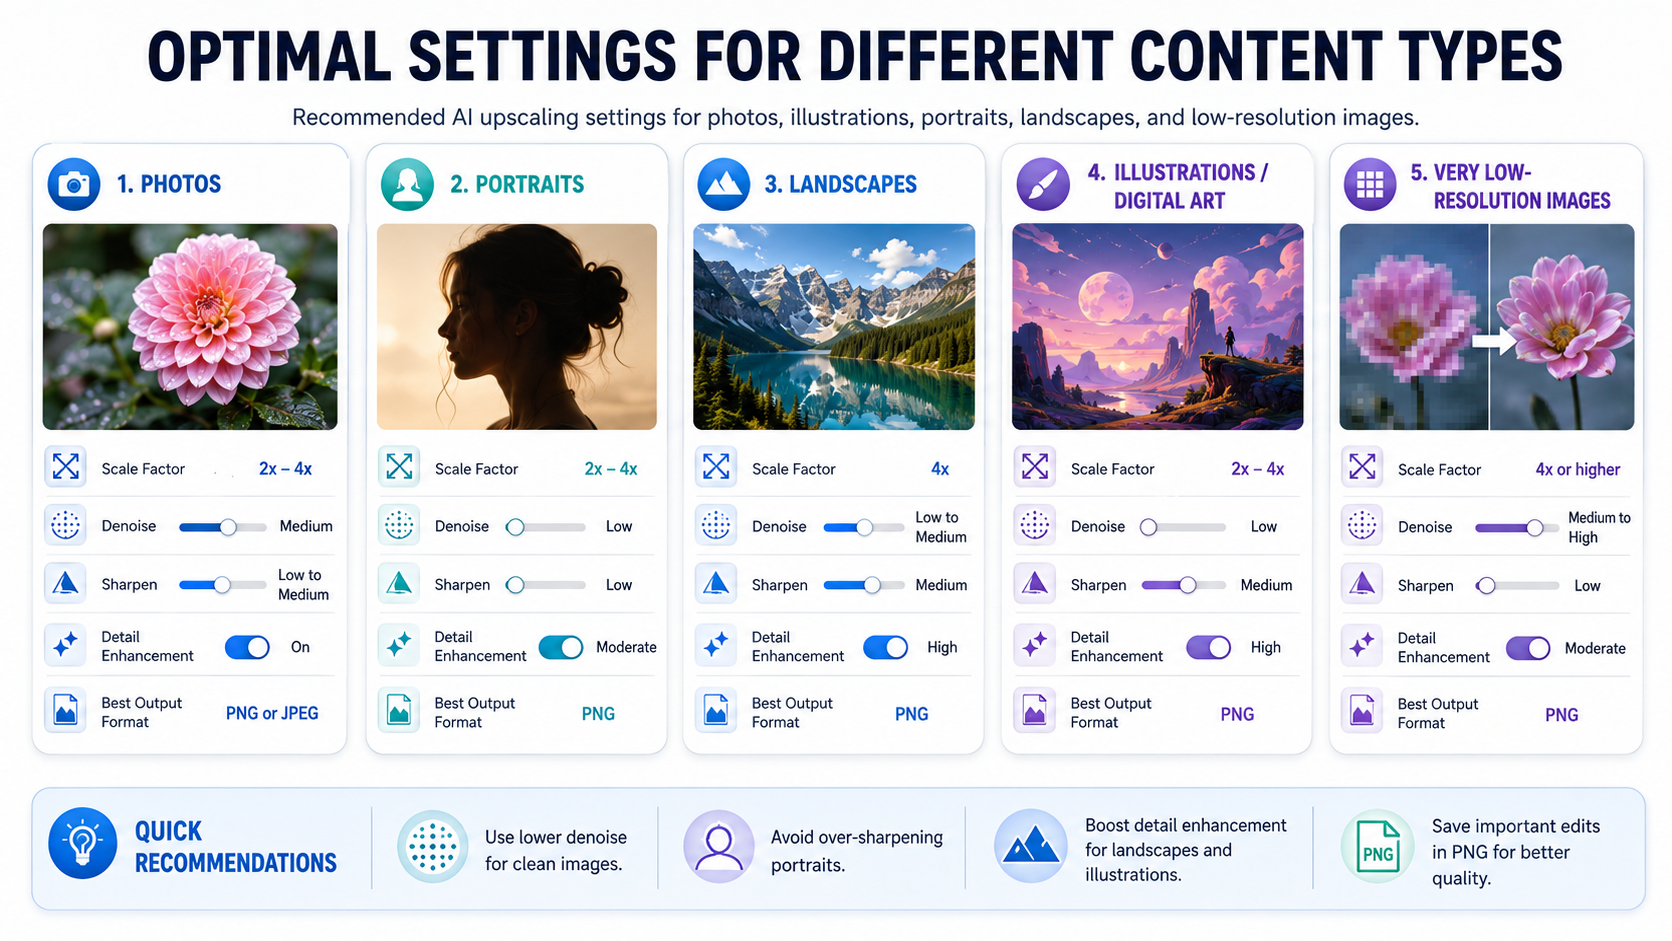
Photorealistic NSFW
- Upscaler: 4x-UltraSharp or RealESRGAN_x4plus
- Scale: 4x
- Face restoration: CodeFormer at 0.6 weight
- Why: Photorealistic content benefits most from detail-enhancing upscalers. Skin pores, hair strands, and eye detail all improve dramatically. Face restoration prevents faces from looking smooth or doll-like at higher resolutions.
Anime / Hentai NSFW
- Upscaler: RealESRGAN_x4plus_anime_6B or 4x-AnimeSharp
- Scale: 4x
- Face restoration: Disabled (face restoration models are trained on real faces and distort anime faces)
- Why: Anime-specific upscalers preserve clean lines and flat color areas that photorealistic upscalers can over-texture. General upscalers add unwanted noise and grain to smooth anime surfaces.
Semi-Realistic / 2.5D NSFW
- Upscaler: 4x-NMKD-Siax or RealESRGAN_x4plus at reduced sharpening
- Scale: 4x
- Face restoration: CodeFormer at 0.3–0.4 weight (light touch)
- Why: Semi-realistic content needs balanced upscaling. Too much photorealistic detail destroys the stylized look. Too little makes it look soft. NMKD-Siax hits a good middle ground.
Common Upscaling Problems and Solutions
Over-Sharpening
The image looks artificially crispy with halo effects around edges. This happens with aggressive upscalers like UltraSharp on images that are already relatively sharp.
Solution: Switch to a gentler upscaler (NMKD-Siax, RealESRNet). Alternatively, apply a slight Gaussian blur (radius 0.3–0.5) to the upscaled image to soften harsh edges without losing detail.
Plastic Skin Texture
Skin looks waxy or plastic after upscaling. The upscaler added smoothing instead of texture detail.
Solution: Use an upscaler model that adds natural texture (4x-UltraSharp works well here). Add film grain in post-processing—a subtle noise layer at 5–10% opacity breaks up the plastic look and adds natural appearance. In Photoshop or GIMP, use the noise filter at 2–4% monochromatic.
Face Distortion
Face restoration makes the face look unnatural or changes features during upscaling.
Solution: Reduce face restoration strength. CodeFormer at 0.3 adds subtle improvement. At 0.8+, it aggressively reshapes faces. If faces still distort, disable face restoration entirely and handle facial detail through the upscaler model alone.
Color Shifts
Colors change during upscaling—skin tones shift, backgrounds change hue.
Solution: Some upscaler models introduce slight color bias. Compare the upscaled version against the original and correct with hue/saturation adjustments. Using the Latent upscaling method in Hires Fix generally preserves colors better than external upscaler models.
Artifacts in Complex Areas
Jewelry, patterned clothing, tattoos, or detailed backgrounds develop visual glitches during upscaling.
Solution: Upscale at 2x instead of 4x for complex images. Smaller upscale steps produce fewer artifacts. For critical images, upscale at 2x twice (with different models if desired) rather than 4x once.
Advanced Multi-Step Upscaling Workflow
For maximum quality, use this multi-step process:
- Generate at base resolution (512×768 or 768×1024) with your best prompt and settings.
- Fix any issues at base resolution using inpainting. Correcting errors is much easier at low resolution.
- First upscale pass: 2x using Hires Fix with Latent upscaling, denoising 0.35, 20 hires steps. This adds AI-generated detail.
- Second upscale pass: 2x using Real-ESRGAN in the Extras tab. This adds texture and sharpness on top of the AI-generated detail.
- Face restoration: Apply CodeFormer at 0.5 if face quality dropped during upscaling.
- Final touch: Light sharpening (Unsharp Mask, amount 30%, radius 1px) and optional noise reduction on smooth areas.
This workflow produces a 4x upscaled image (original 512×768 becomes 2048×3072) with genuinely generated detail rather than just interpolated pixels. The two-step approach—AI detail generation followed by upscaler enhancement—consistently outperforms single-step 4x upscaling.
Batch Processing Tips
When upscaling multiple images from a series or project:
- Use identical settings: Apply the same upscaler, scale factor, and face restoration settings to all images in a set. Inconsistent upscaling settings create visible quality differences between images in a series.
- ChaiNNer for automation: Set up a ChaiNNer workflow once, then point it at your image folder. It processes every image with identical settings automatically.
- Stable Diffusion batch processing: The Extras tab accepts batch input from a folder. Process 50–100 images unattended while you do other work.
- Quality check after batching: Spot-check 10–15% of batch-processed images. Occasionally an image produces artifacts that the batch settings handle poorly. Those outliers need individual reprocessing with adjusted settings.
Storage and Format Considerations
Upscaled images are much larger than originals:
- A 512×768 PNG is typically 300KB–1MB
- The same image at 2048×3072 is 5–15MB
- At 4096×6144 (8x upscale): 20–50MB per image
Save upscaled images as PNG for lossless quality or high-quality JPEG (95%+) for smaller file sizes with minimal visible quality loss. Avoid saving intermediate steps as JPEG—each JPEG save introduces compression artifacts that compound with subsequent processing.
Keep original resolution versions alongside upscaled ones. If you want to re-upscale with a better tool later, starting from the original produces better results than re-upscaling an already-upscaled image.
Upscaling transforms good AI images into great ones. The investment in processing time is minimal—most images upscale in seconds to minutes—and the quality improvement is immediately visible. Make upscaling the final step of every image you plan to share, publish, or display at full resolution. The difference between a raw 512px output and a properly upscaled 2048px version is the difference between obvious AI content and a polished, professional-looking image.